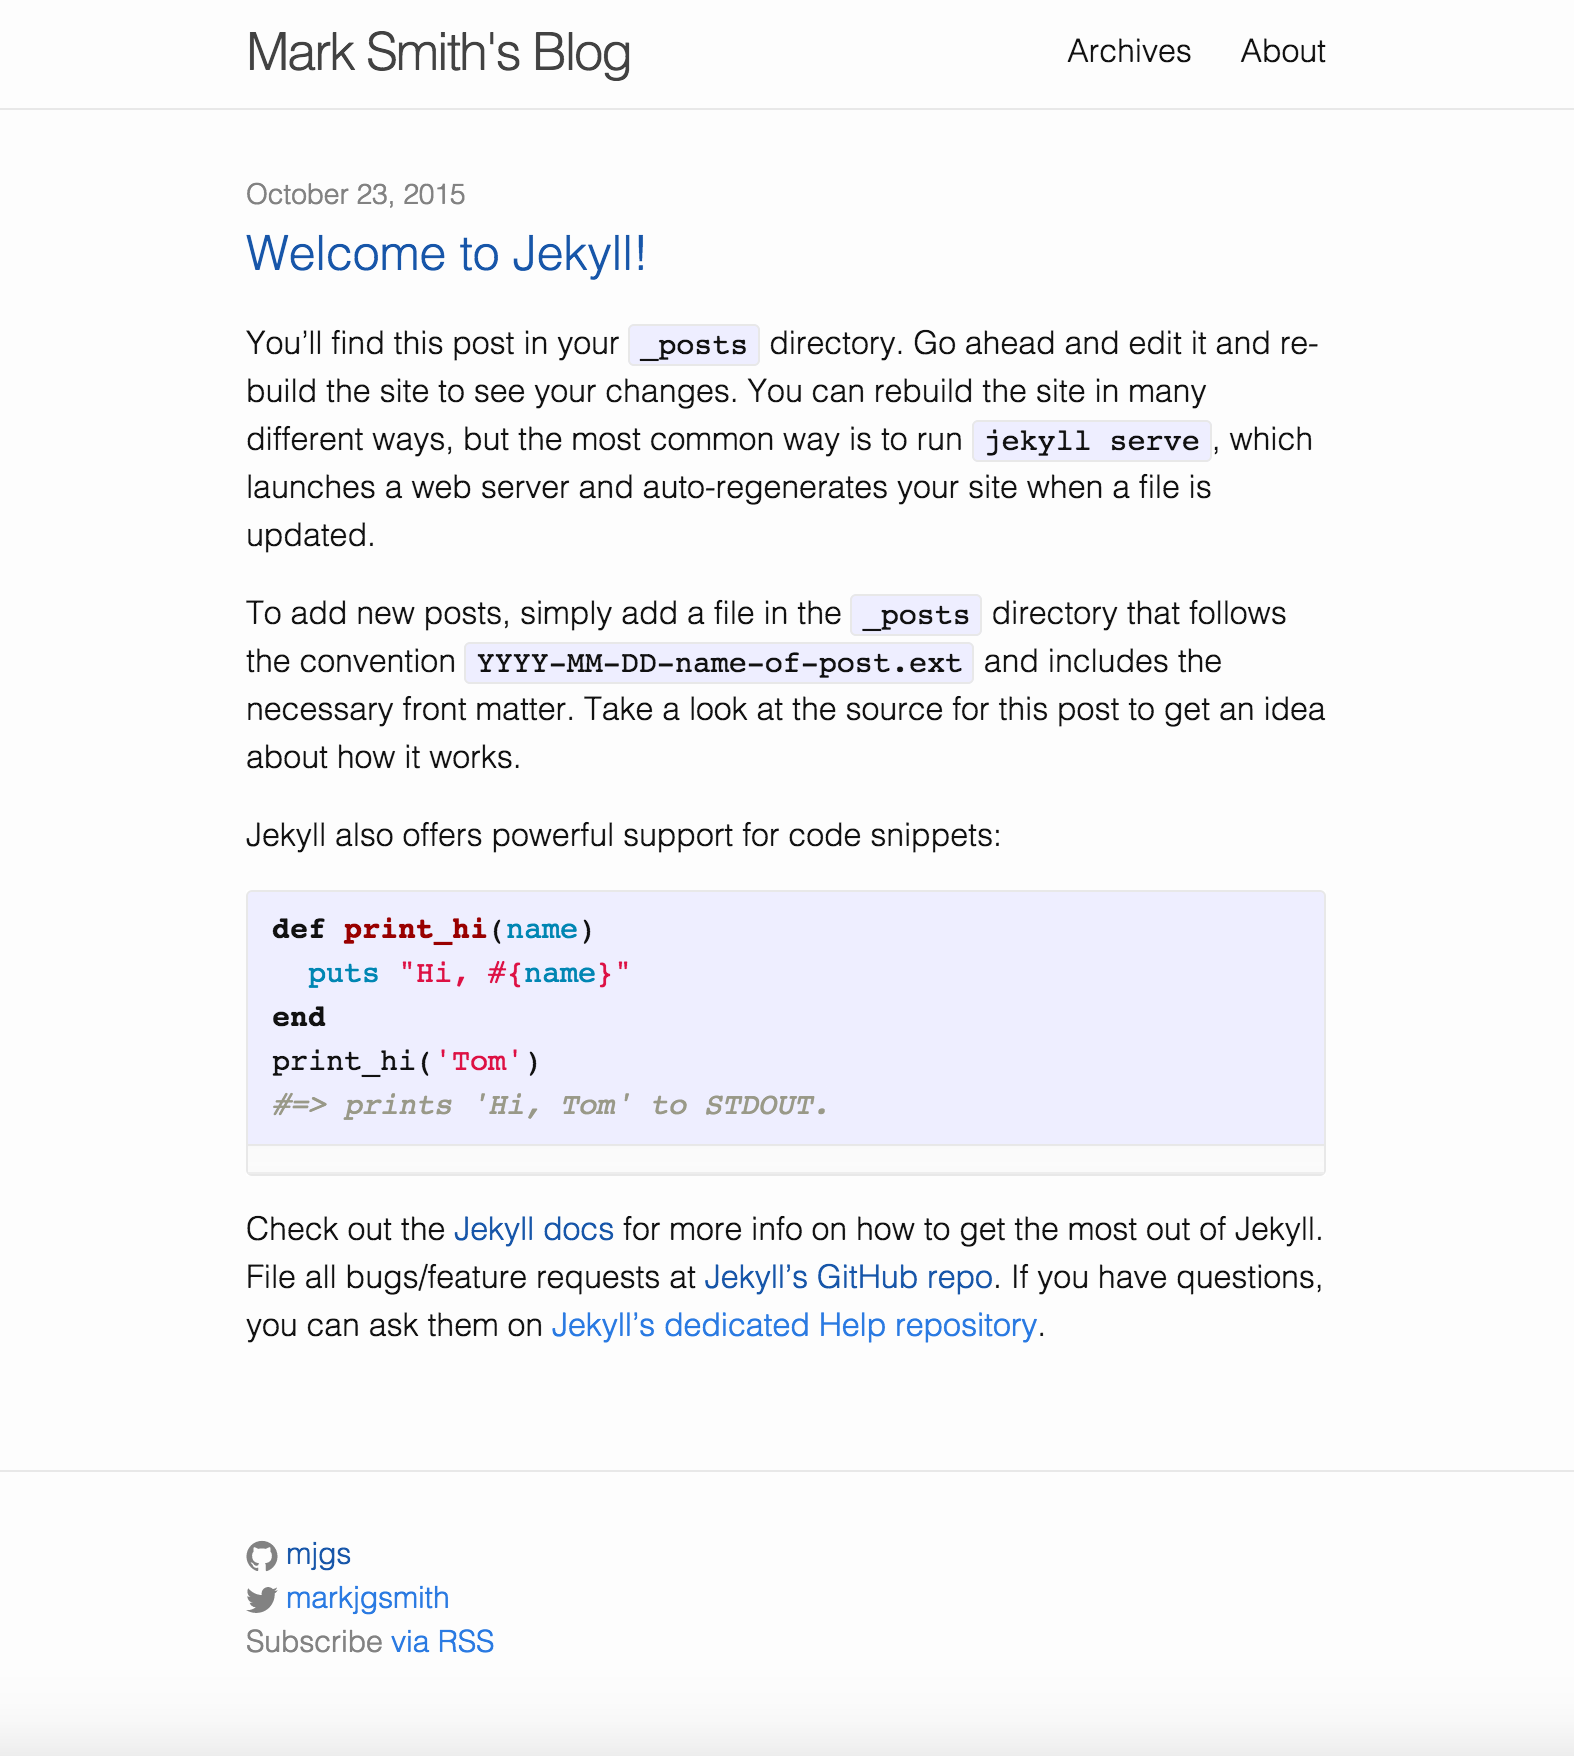
You’ll find this post in your _posts directory. Go ahead and edit it and re-build the site to see your changes. You can rebuild the site in many different ways, but the most common way is to run jekyll serve, which launches a web server and auto-regenerates your site when a file is updated.
To add new posts, simply add a file in the _posts directory that follows the convention YYYY-MM-DD-name-of-post.ext and includes the necessary front matter. Take a look at the source for this post to get an idea about how it works.
Jekyll also offers powerful support for code snippets:
{% highlight ruby %}
def print_hi(name)
puts "Hi, #{name}"
end
print_hi('Tom')
#=> prints 'Hi, Tom' to STDOUT.
{% endhighlight %}
Check out the Jekyll docs for more info on how to get the most out of Jekyll. File all bugs/feature requests at Jekyll’s GitHub repo. If you have questions, you can ask them on Jekyll’s dedicated Help repository.